
Install Snowy Dune Launcher with the installer
If you haven't already downloaded the installer, download it here.
Installation
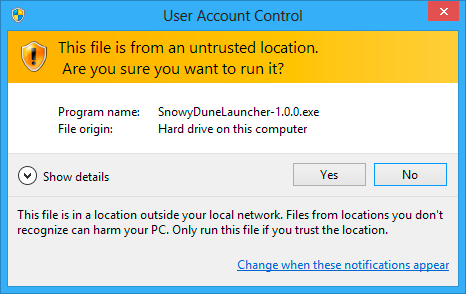
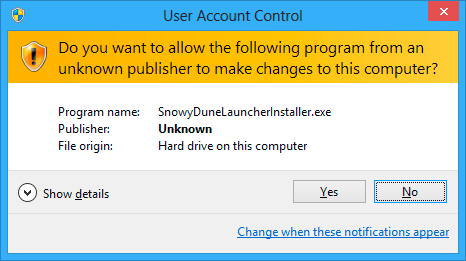
Run the installer, you might see some of the following confirmation prompts:
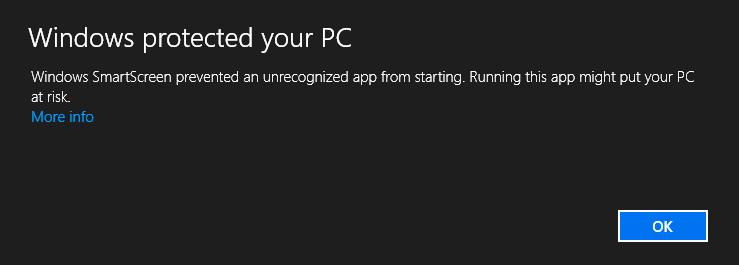
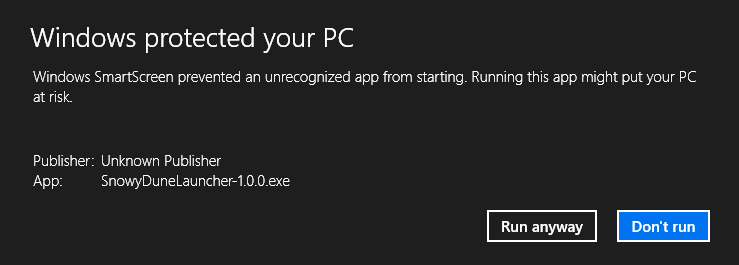
If you see the following prompt, you need to click More info and then Run anyway.
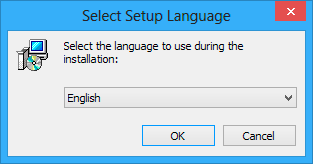
You should now see the following window where you can select which language to use during the instalation, if you don't need to change the language click OK.
In the next window you just have to click Next to start the installation.

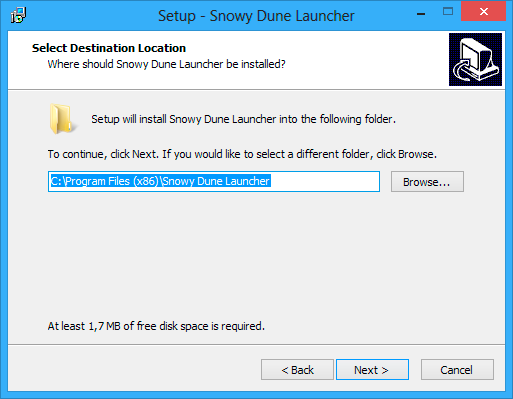
Install location
The next window will ask you where to install it. If you don't need to install it in a special folder, click Next.
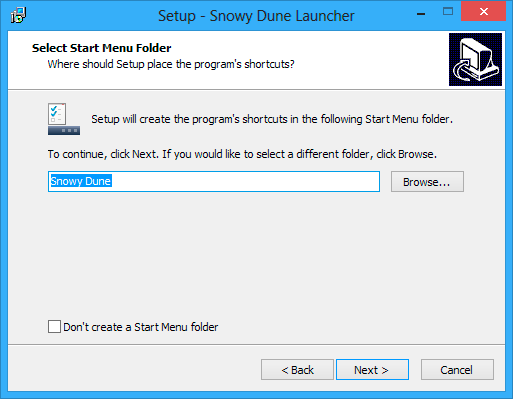
Start menu shortcuts
In this window you are asked what you want to name the folder where the Snowy Dune Launcher shortcuts will be created, you can also choose not to create shortcuts. If the default name is fine just click Next.
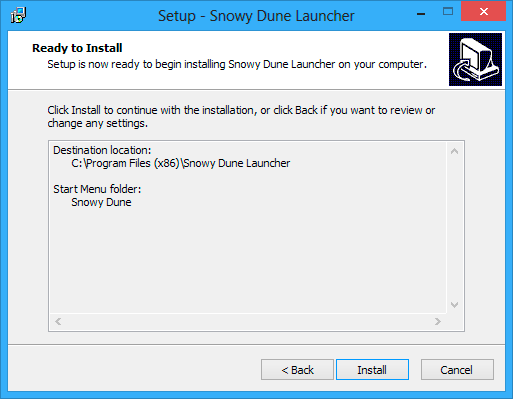
Review settings
This window lets you review which folders you've chosen for the program files and shortcuts. If you want to change any setting click Back, if the settings are correct click Install.
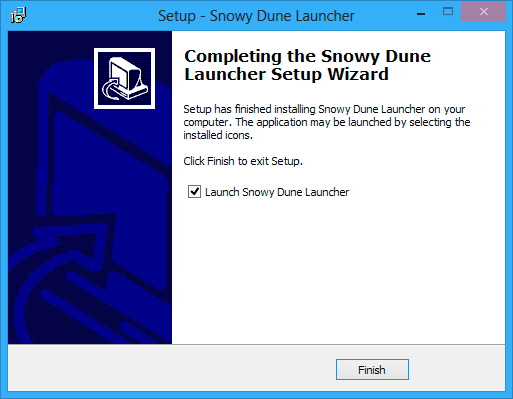
Finishing installation
Snowy Dune Launcher will now get installed. It should take a few seconds.

When it's done click Finish
You can now start using Snowy Dune Launcher! Learn how to use it with these tutorials: